Wobble Garden Maintenance
Replacing LED Rings
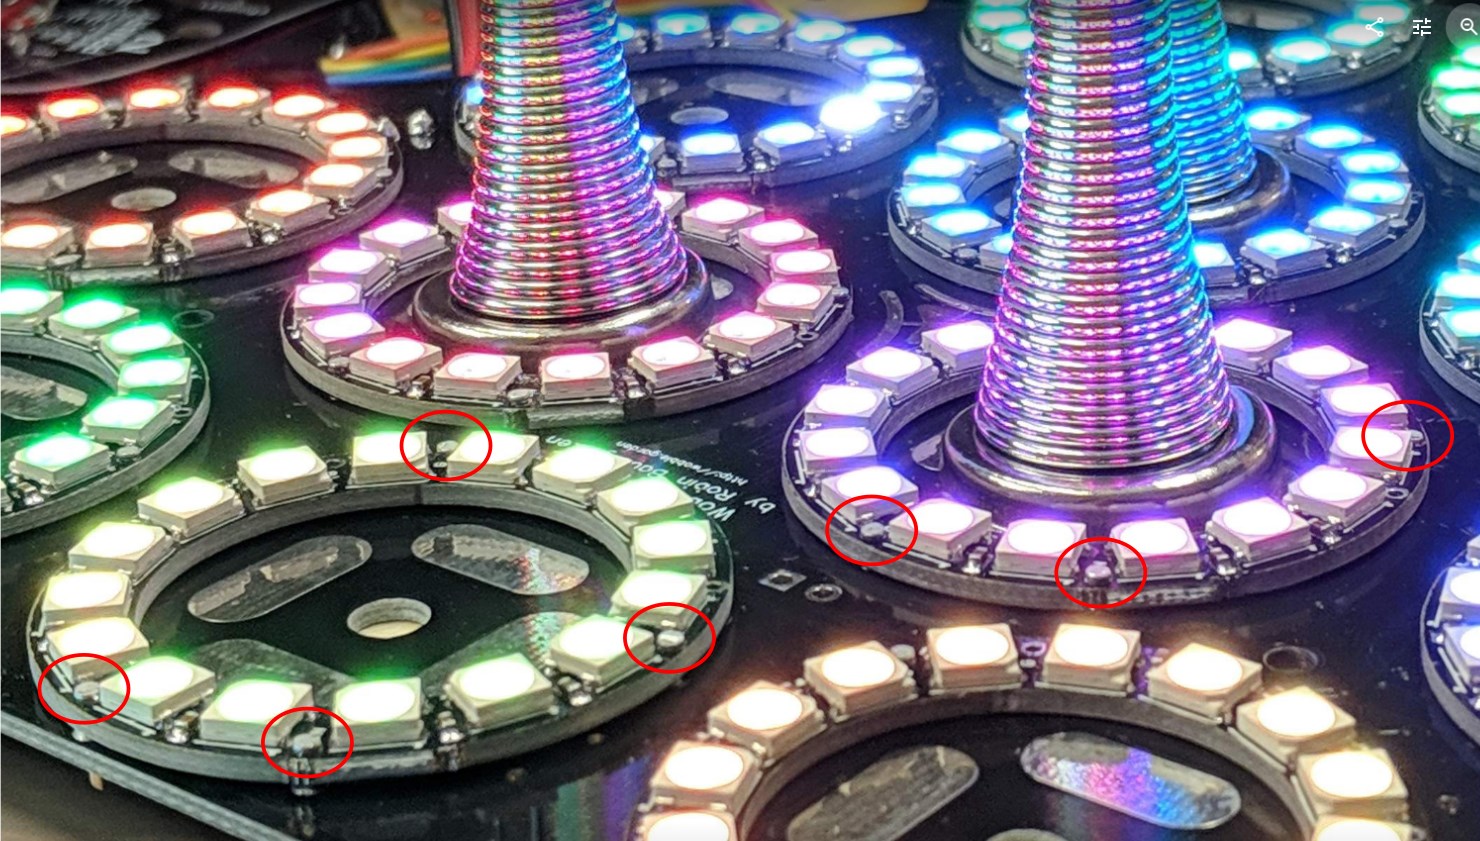
First, you will need to figure out which LED ring needs to be replaced. On each printed circuit board (PCB), there are 12 LED rings, which are connected in series. If an LED fails, all subsequent LEDs and rings on that PCB will be off or flicker. So you want to replace the LED ring where the first faulty LED is. This is most easy to see if the fault occurs halfway through a ring:

The LED rings can be replaced fairly easily by clipping off the heads of the four pins holding them in place (circled in red):
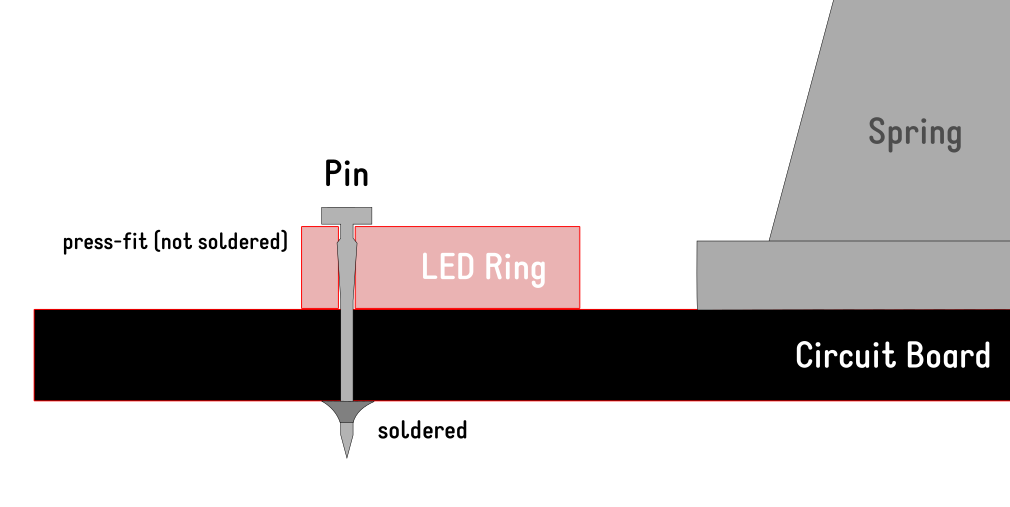
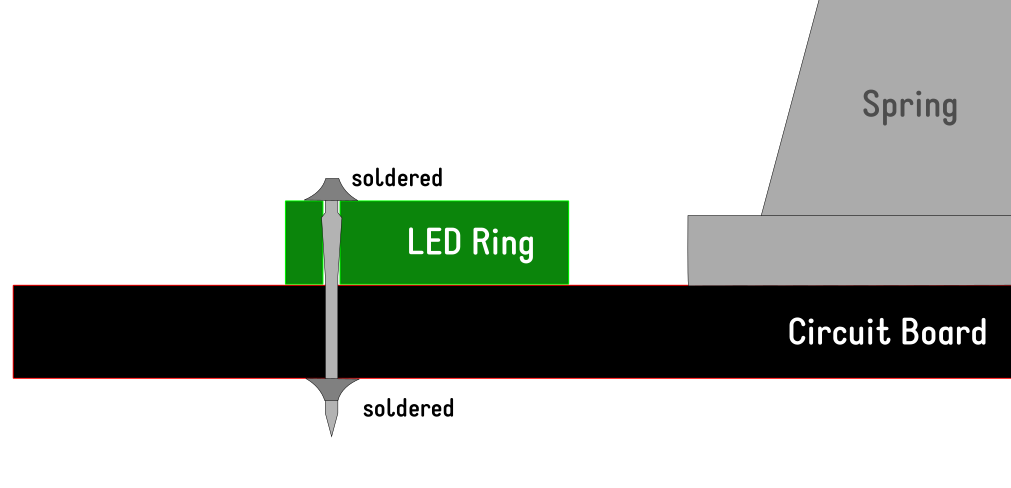
These pins are press-fit on the side where they're holding the LED ring, and soldered on the other side to the PCB:

Below is a video followed by a schematic showing how you can swap a ring:
Use diagonal wire cutter pliers like these to carefully clip off the heads of the pins. Wear eye protection or shield your eyes from the head of the pin, it'll likely fly off with some speed!

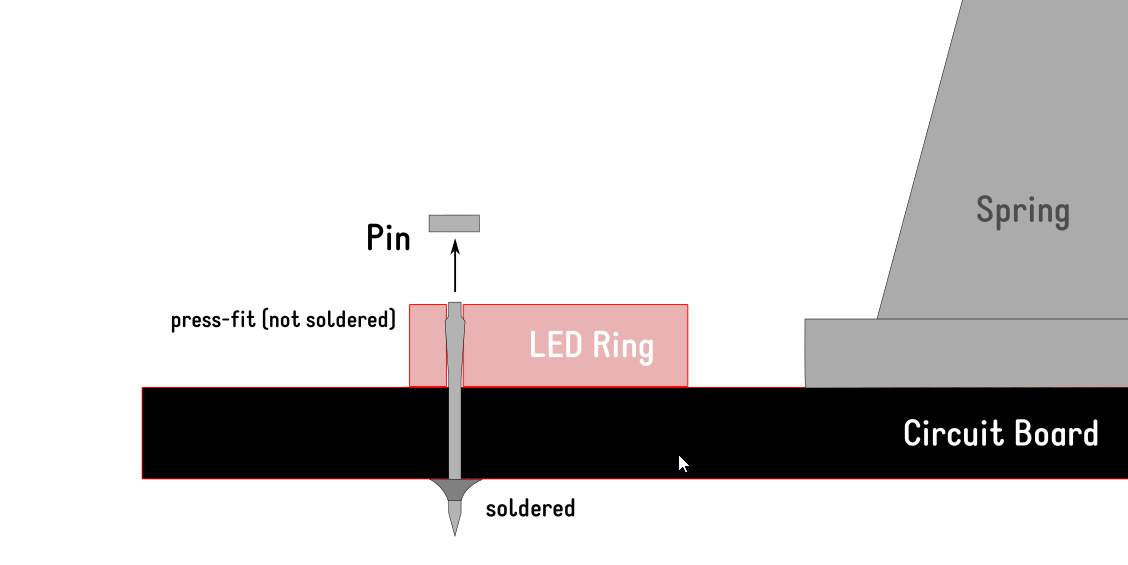
Then use a small flat screwdriver or similar to lift off the LED ring:

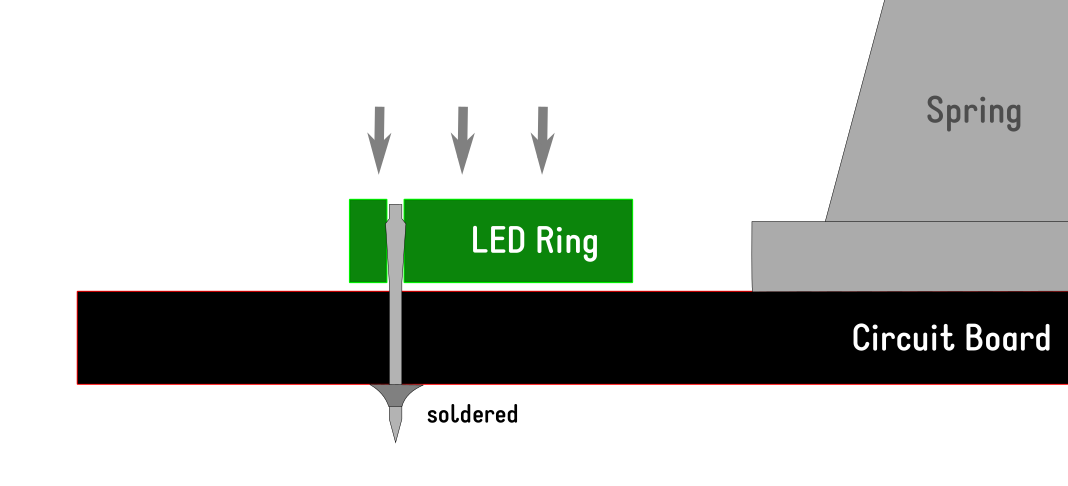
And align and push on a new ring, using your hands or a flat tool, making sure not to put too much pin-point pressure on any of the LEDs:
Optionally solder the new ring in place. Note that subsequent ring-replacements will be much more tricky if the pins have been soldered. It might be sufficient to solder only one connector to hold the ring in place. I recommend testing the board before soldering anything.
Follow me for my newest experiments: Follow @Robin_B